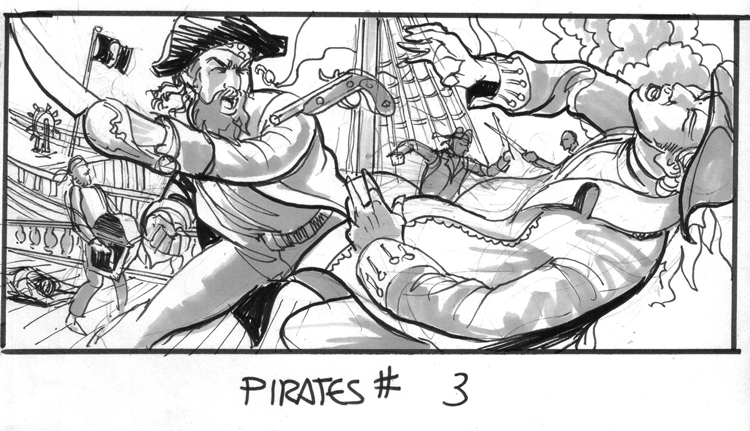
We recently finished illustrating ELEVEN history books. Lots of illustration. I wanted to share one with you and show the creative process in producing one of the illos. We begin with a rough sketch produced after reading the script. The sketch is submitted to our art director for approval.
Doing these rough sketches or comps, are my favorite part of producing an illustration. Quickly pencil sketched out, then tightened up with fine tipped marker pens and shaded with various grey design markers.
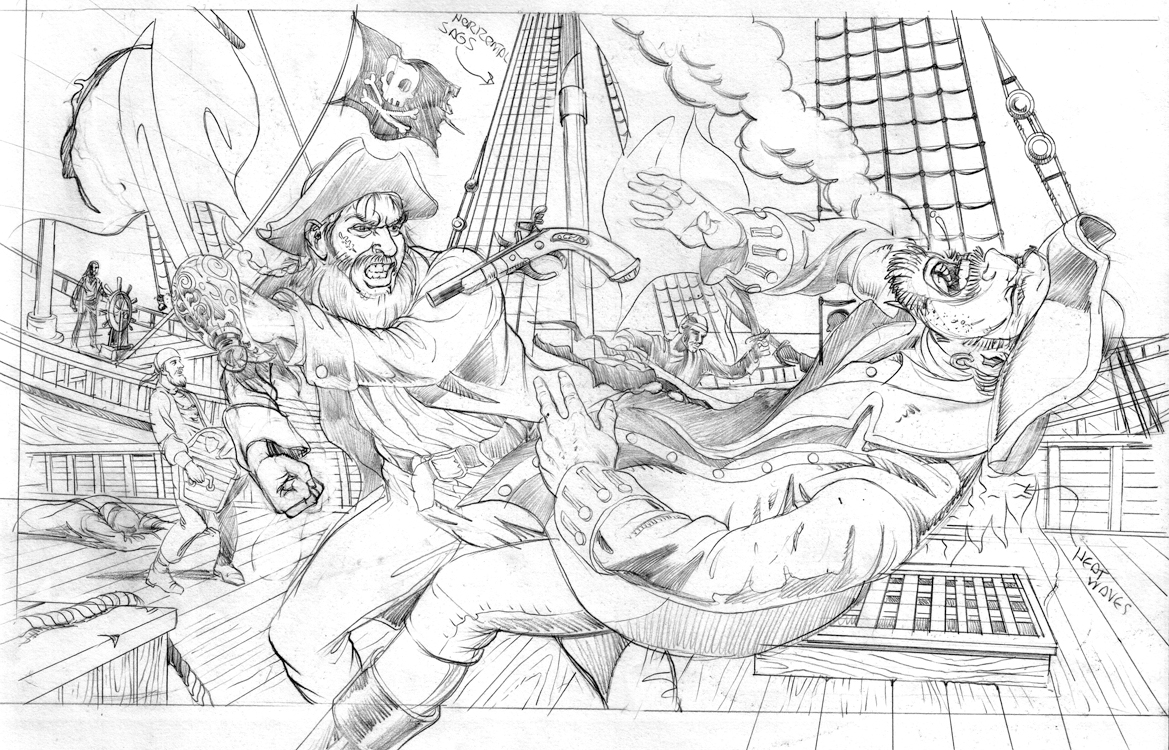
After the art director approves the sketch, research is done, usually via google image searches, and sometimes models , er… normally just one of us at the studio, in this case Scott and I, are posed and photographed. Then the sketch is blown up and pencilled over on a light table. Here is the resulting “Pencils”.
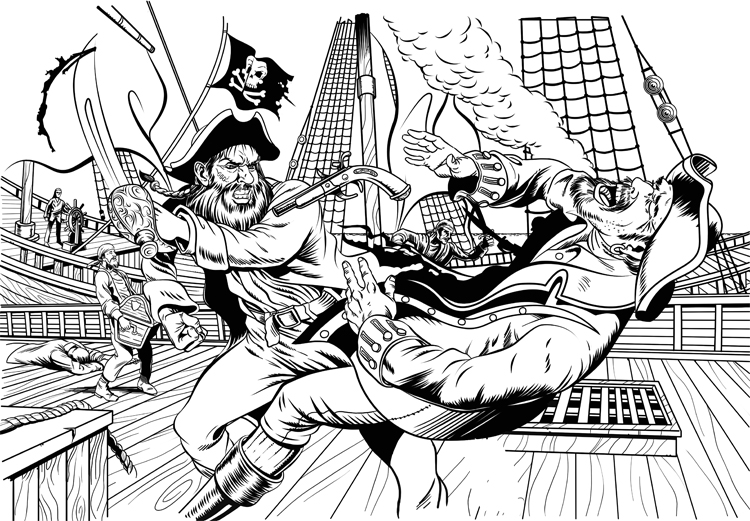
The Inking process begins! Sometimes we ink it the arcane way, with crow quill pens and sable hair brushes with black waterproof india ink. But in this case, the pencils were scanned into the computer for digital inking. This took a couple of scans and was digitally stitched together with Photoshops automatic photo merge function. (File>Automate>Photomerge I love this time saving function!) Now it can be inked digitally in either Photoshop or Illustrator. I’m not sure which Scott used. Check out the details and fluid lines, woo!
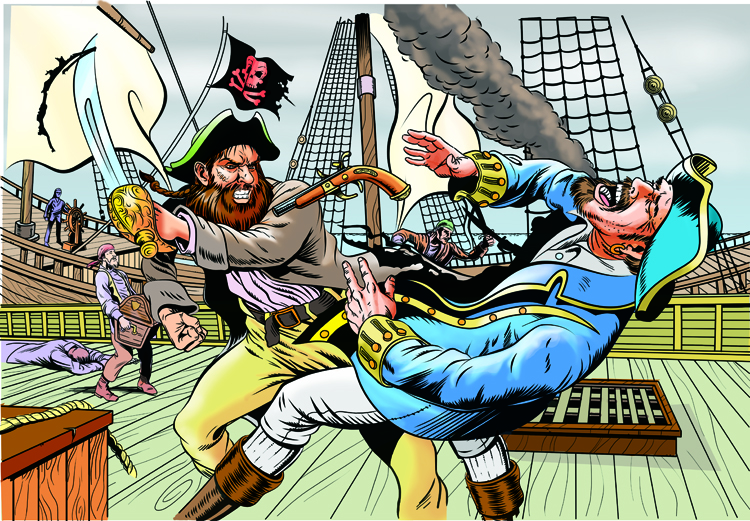
Next the inked illustration is colored in layers in Photoshop, and FTP’d to the client.


Great work Terry and the Miracle Staff. Keep it up!
John
Thanks John, we will!